Please wait...

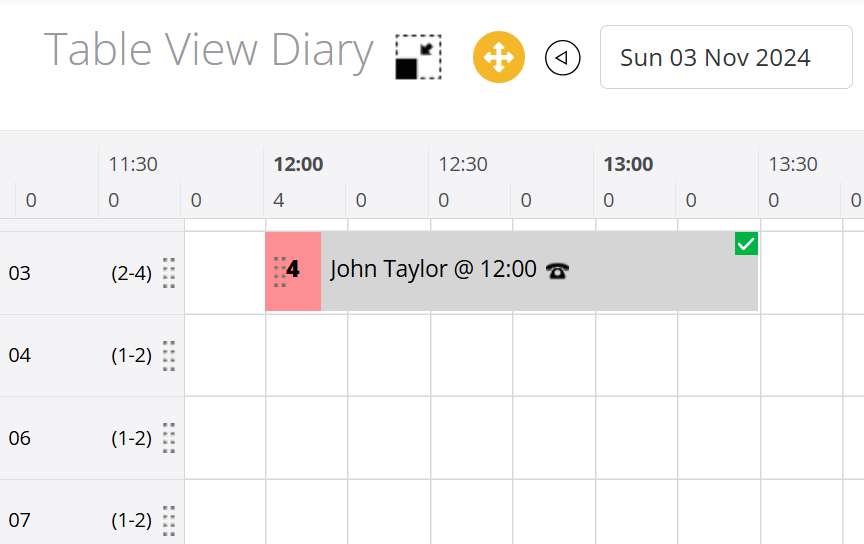
In table View Diary, moving a booking from one table to another table is very straightforward - you simply drag & drop the booking where required by either clicking on the pink square at the beginning of the booking record (if using a mouse) or touching the pink square (if using a touch screen) and dragging it to the destination table.

Drag & drop is enabled when the drag & drop toggle button is enabled (orange)

If that button is grey, this means that drag & drop is not enabled - simply click on the button to enable it

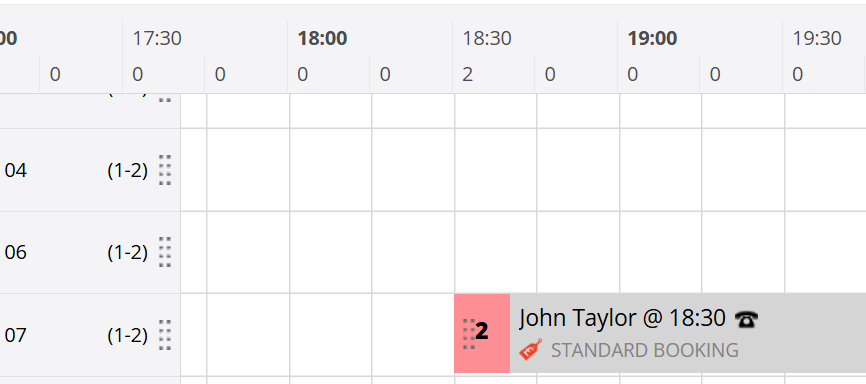
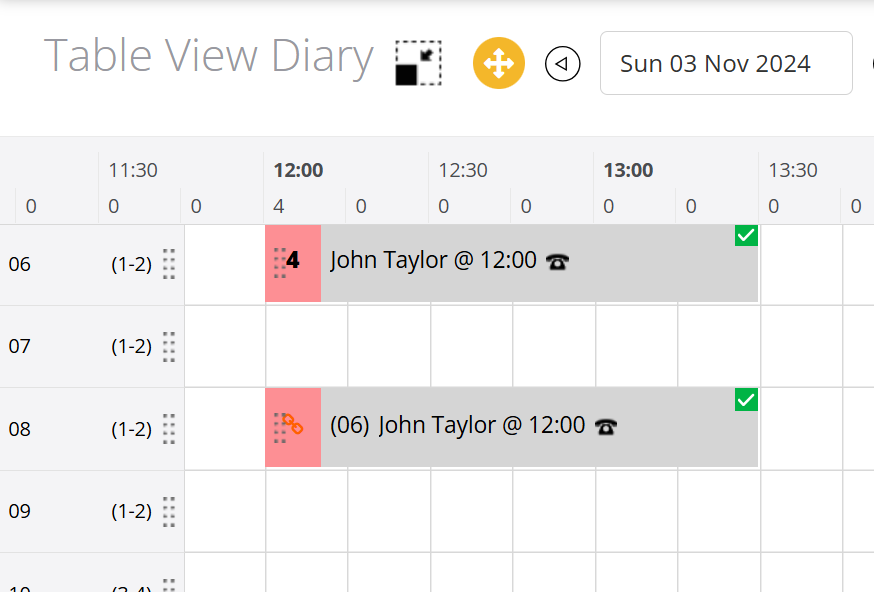
Example: Moving booking from table 04 to table 07…

The booking is now on the destination table (07)
Example, a booking for 4 people allocated to 2 tables of 2s is moved to a single table of 4's
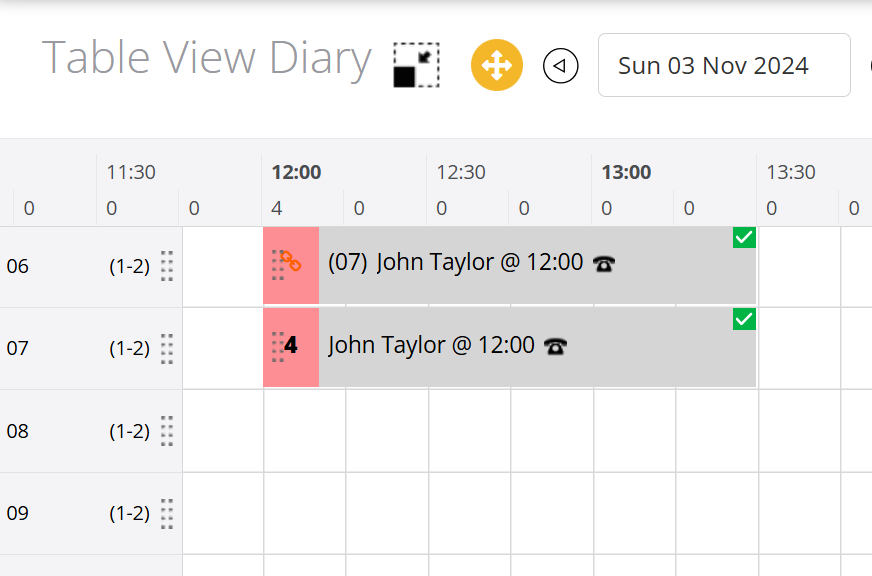
The booking is currently allocated to tables 06 & 07 (two tables of 2s)
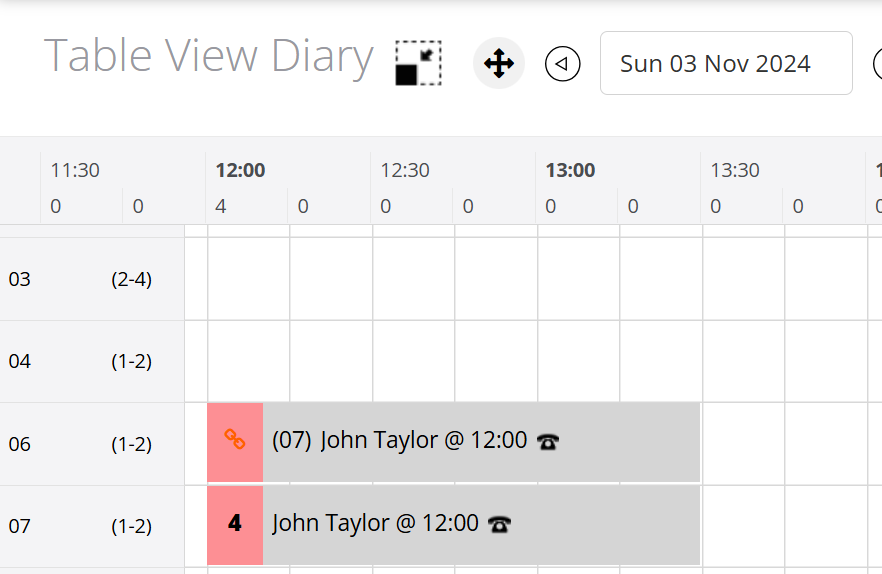
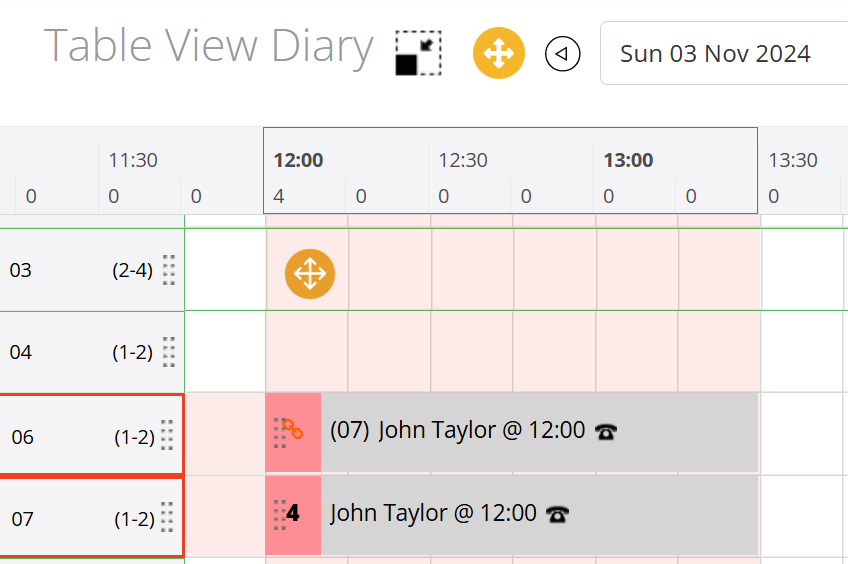
Click on the booking and drag it to table 03 (a table of 4's)
The system will offer you 2 choices:
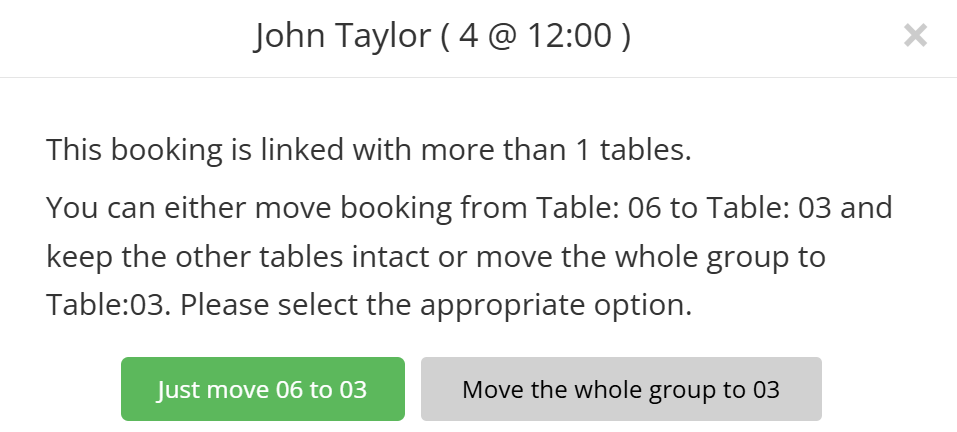
Click on Move the whole group to 03
Note: We recommend editing the booking, which is easier and faster. See end of this section.
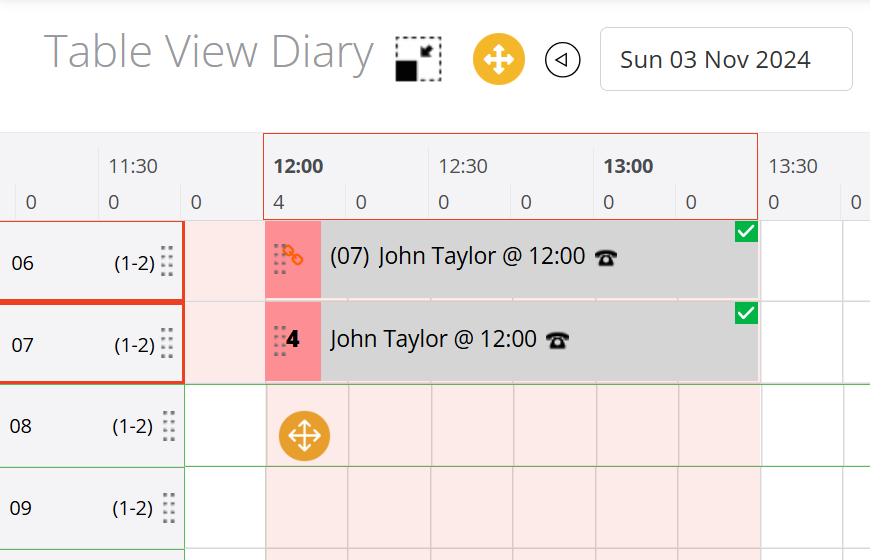
Example, a booking for 4 people allocated to 2 tables of 2s (06 & 07) is moved to another 2 tables of 2's (08 & 09)
Drag and drop your table onto the destination table (08)
The system will offer you 2 choices:
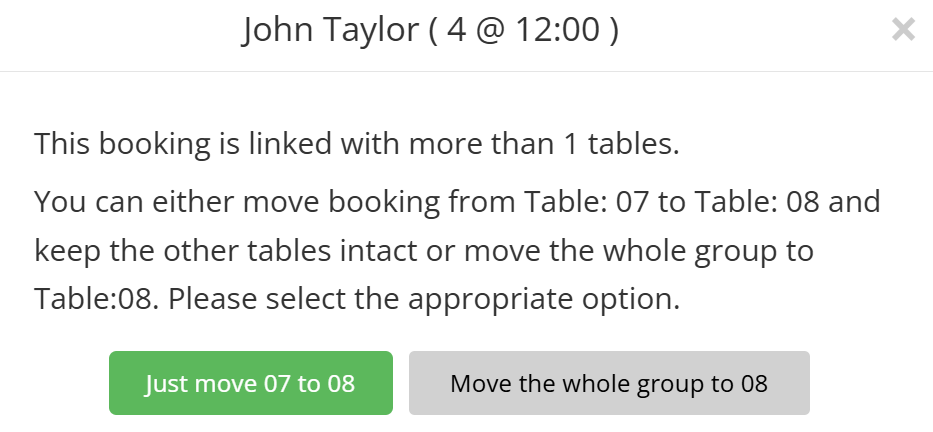
Select Just move 07 to 08 option
The first table (07) has been moved to table 08 - you then need to repeat and move table 06 to 09.
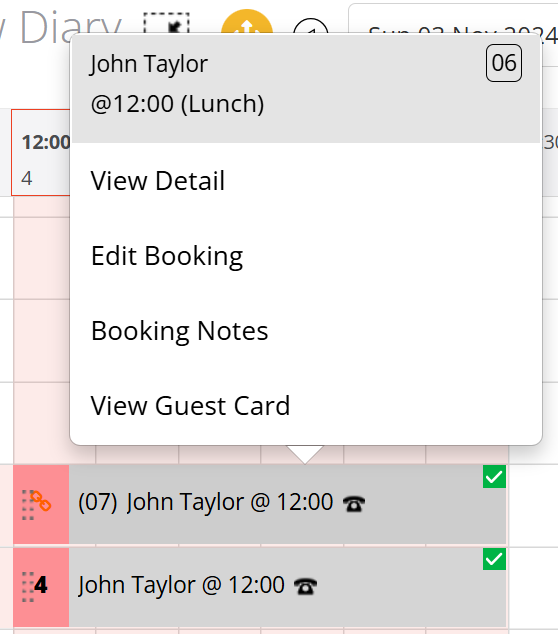
We however do not recommend using this method, as it is a lot quicker and easier to just edit the booking - click on booking and select Edit Booking
Then allocate the tables that you want (08 & 08) and save
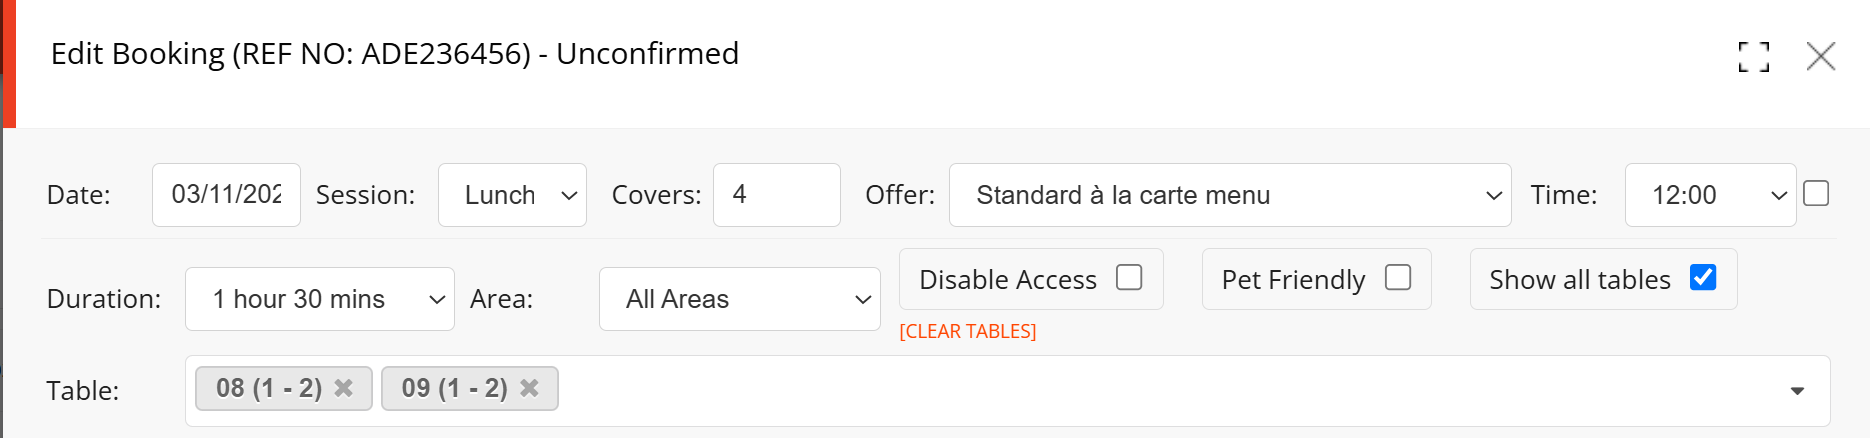
This method is a lot faster than doing it through the Table View grid.


